
How to Check for Cracks and Damage After a Minnesota Winter
Monday, May 4, 2026 · Your Happy Dolphin Pool & Spa Team
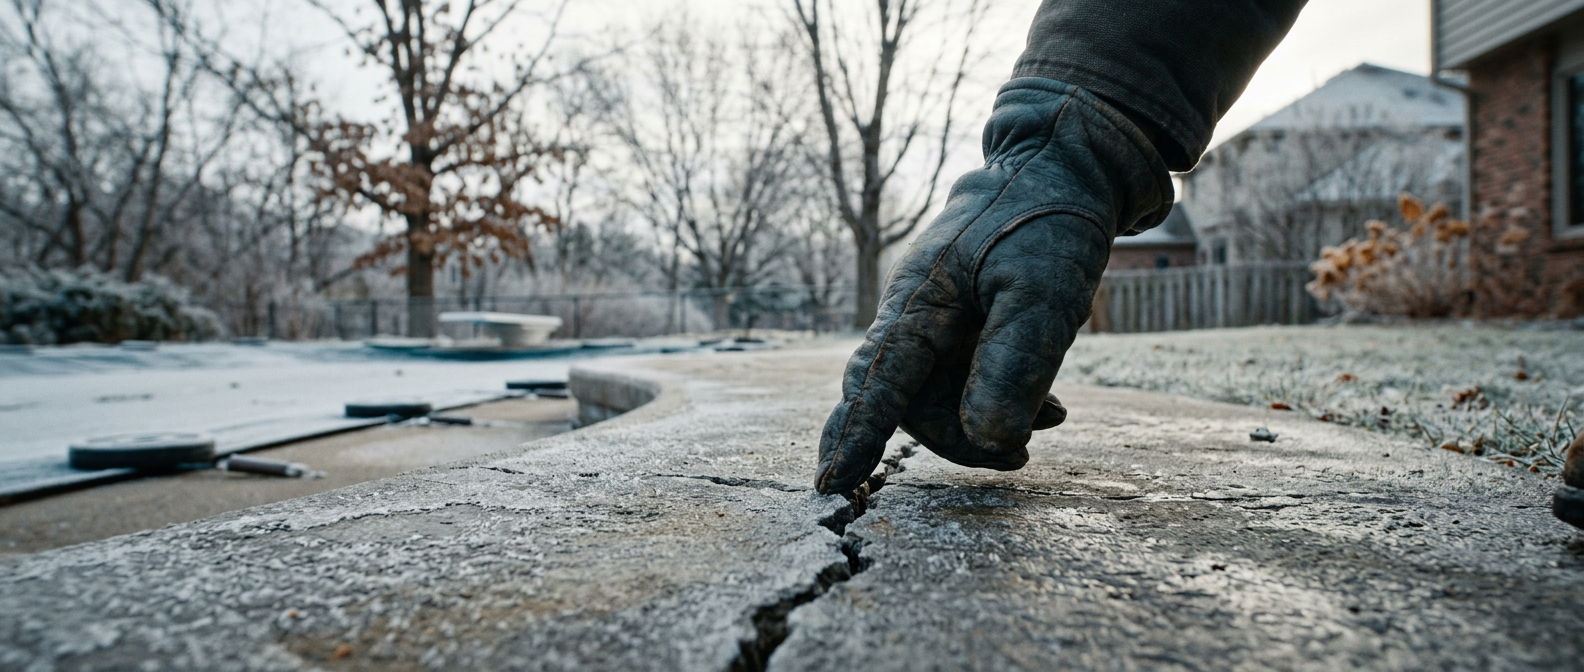
Images are AI generated and do not depict an actual pool or Dolphin Pool & Spa location.
Minnesota winters are not kind to pool structures. Months of freeze-thaw cycling, ground movement, ice expansion, and temperature swings that can swing 80 degrees in a single season put real stress on every part of your pool — from the shell and coping to the deck, plumbing, and equipment. Most of that stress is invisible while the pool is closed and covered.
Spring opening is your annual opportunity to do a thorough walkthrough before the water goes in and hides any problems. Catching damage early — before the pool is full and running — saves you money, prevents small issues from becoming big ones, and makes for a much smoother season. Here's what to look for and where to look for it.
1 The Pool Shell and Walls
Once the cover is off and the water level is low enough to see the walls clearly, walk the perimeter slowly and inspect the shell. What you're looking for depends on your pool type:
💡 Pro Tip: For vinyl liner pools, run your hand slowly along the walls at and just below the waterline. Small tears are easy to miss visually but you'll feel them. A liner that has become stiff or crinkly — especially around return jets and skimmers — is telling you it's nearing the end of its life.
2 Coping, Tile, and the Waterline
The coping — the cap stones or poured concrete that runs around the top edge of the pool — takes a beating from freeze-thaw cycles every single year. Walk the entire perimeter and look for:
|
|
⚠️ Don't ignore coping cracks. Water that gets into a crack in your coping will freeze, expand, and make the crack significantly larger next winter. A small repair now is far cheaper than replacing sections of coping after another season of freeze-thaw damage.
3 The Pool Deck
Concrete and paver decks shift every winter as the ground freezes and thaws. Most of it is cosmetic — but some of it is a trip hazard or a drainage problem waiting to happen. Look for:
|
|
💡 Pro Tip: Walk the deck in bare feet after a dry day. You'll feel lifted edges, soft spots, and uneven sections far more reliably than you'll see them. Any trip hazard near the pool edge is a safety issue that needs to be addressed before anyone is running around the deck this summer.
4 Skimmers, Returns, and Fittings
Plastic fittings that are set into the pool wall are vulnerable to freeze damage — especially if the pool wasn't winterized correctly or if water levels were higher than recommended going into winter. Check each one carefully:
|
|
5 Underground Plumbing — The Leak Test
You can't see underground plumbing, but you can test it. Before you fill the pool, plug the return lines and skimmer lines at the equipment pad and pressurize each line with a simple pressure test. A line that won't hold pressure has a crack or separation somewhere underground — and you want to know that before the pool is full of water and you're watching your level drop an inch a day trying to figure out why.
⚠️ Losing water after opening? Don't assume it's evaporation. Minnesota pools lose roughly ¼ inch per day to evaporation in summer. Anything more than that — especially if it happens consistently regardless of temperature or wind — points to a leak. Give us a call and we can help you track it down before it becomes a much bigger problem.
6 Equipment Pad and Mechanical Components
Walk your equipment pad and give everything a visual once-over before you fire anything up. Look for:
|
|
💡 Reminder: Never run your pump dry. Before you start the system for the first time each spring, confirm all valves are open and water is flowing freely. Running a pump without water even briefly can damage the mechanical seal and void the warranty.
7 When to Call a Pro
Some things you can address yourself — a cracked skimmer lid, a worn gasket, a shifted paver. Others are worth a professional set of eyes before you proceed:
|
|
Dolphin Pool & Spa has been diagnosing and repairing Twin Cities pools since 1988. If you find something during your spring walkthrough that doesn't look right, give us a call — we'd rather help you catch it early than see you dealing with a bigger problem mid-summer.
We're Here to Help.
Don't wait on damage you find at opening — small problems don't stay small for long. Give us a call and we'll walk you through your options. We're here Mon–Thurs 8–5, Fri 8–6, and Sat 8–4.
 Call Us Now — 763-542-9000
Your Happy Dolphin Pool & Spa Team
3405 Hwy 169 N, Plymouth MN · 763-542-9000 · dolphinpool-spa.com