
How to Reassemble Pool Ladders, Rails, and Accessories
Monday, May 11, 2026 | Your Happy Dolphin Pool & Spa Team
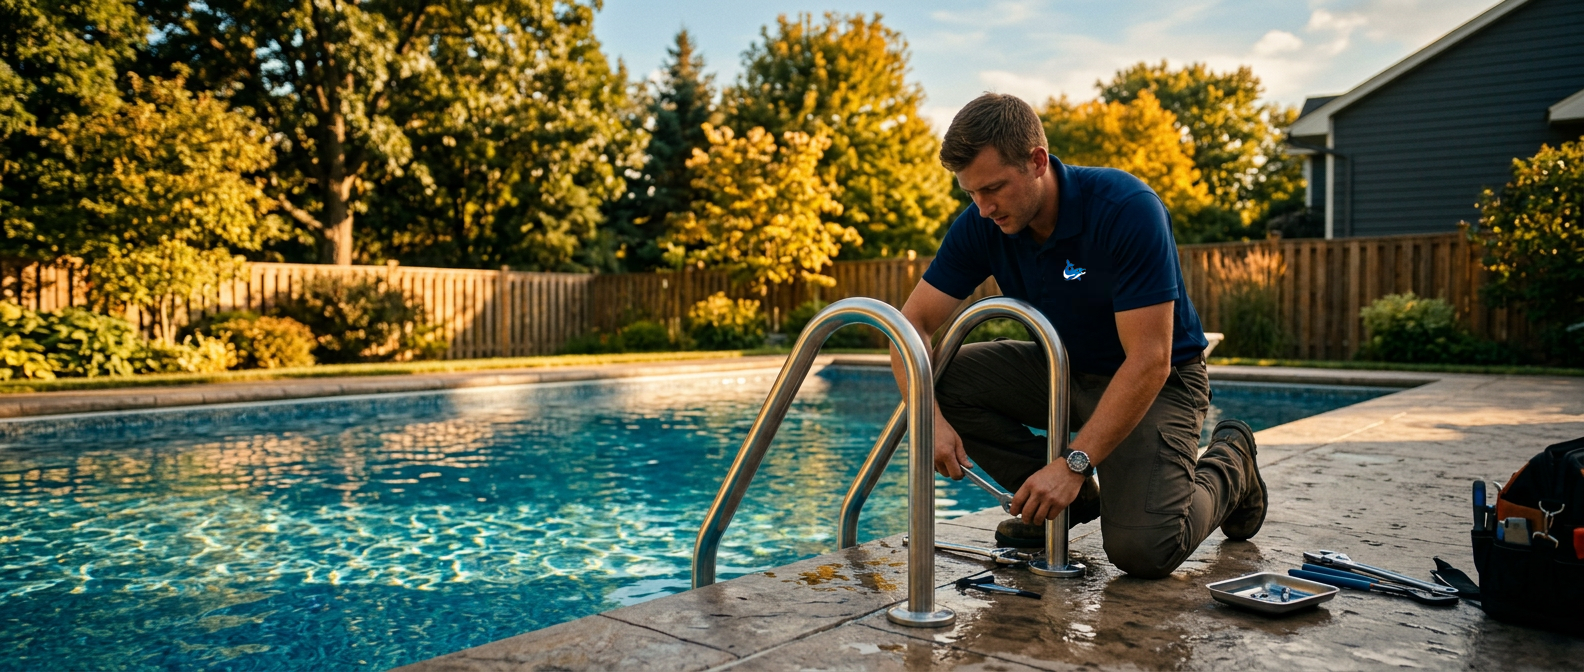
Images are AI generated and do not depict an actual pool or Dolphin Pool & Spa location.
You've balanced the water, cleared the cover, and fired up the pump. Now it's time for one of the most satisfying steps in spring pool opening: putting the ladders, handrails, and other accessories back in. It feels like the pool is finally coming back to life.
But go too fast and you'll regret it. Stripped threads, wobbly anchors, cracked bumpers, and corroded bolts are all common — and preventable — problems. This guide walks you through how to do it right so you stay safe and protect your investment all season long.
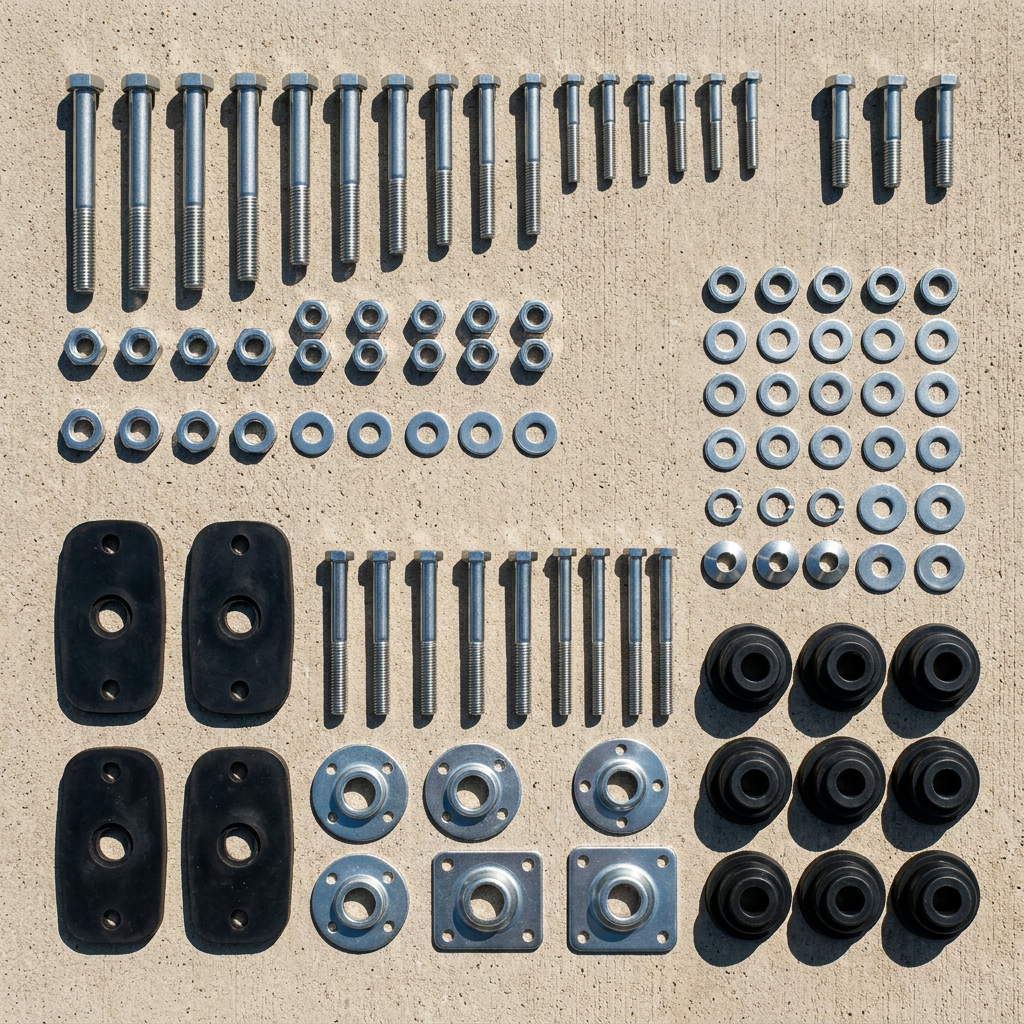
1 Inspect Everything Before It Goes Back In
💡 Pro Tip: Replace Now, Not Mid-Season
If a bumper is cracked, a bolt is seized, or a step tread is wobbly — replace it before the pool opens. Waiting until summer means ordering parts during your busiest swimming weeks. Stop by Dolphin Pool & Spa and we'll help you find the right replacement hardware.
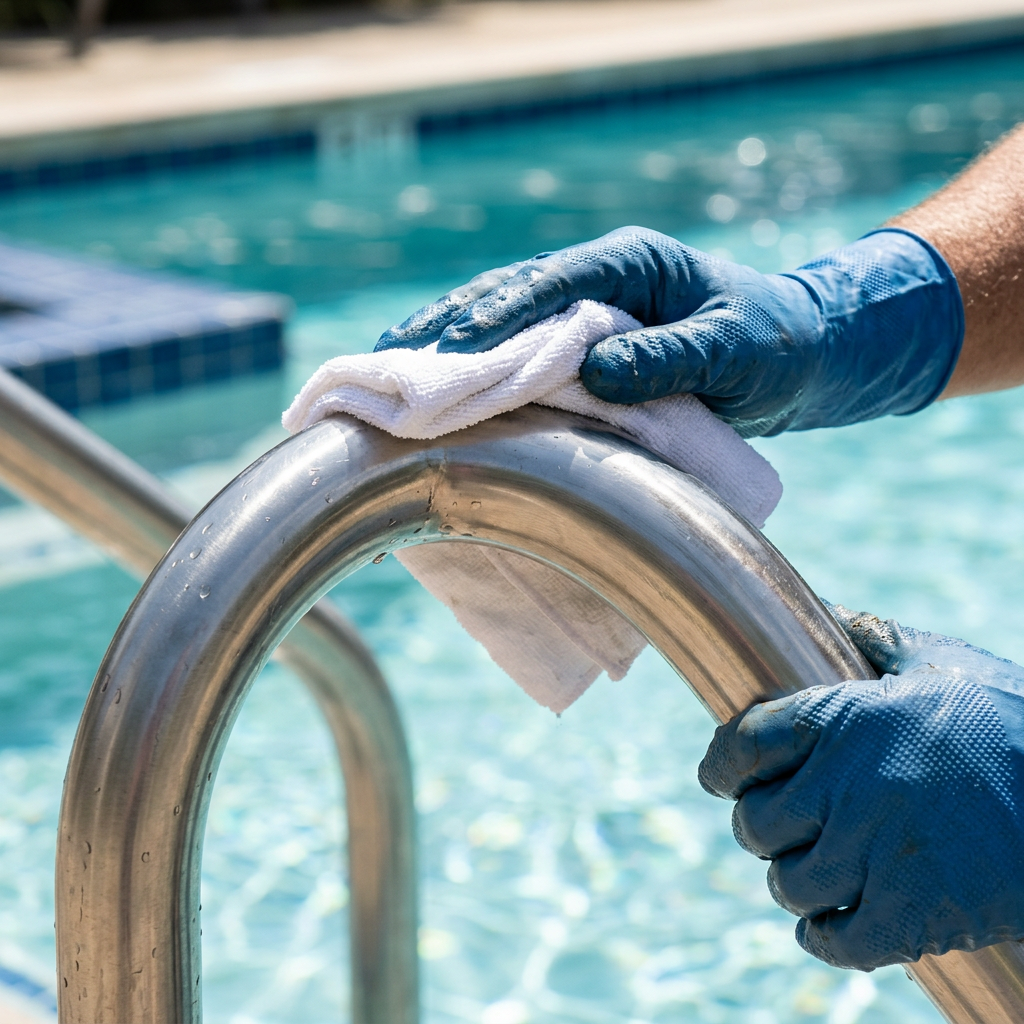
2 Clean and Prep Stainless Steel the Right Way
⚠️ Heads Up: Surface Rust vs. Structural Rust
Light surface rust (orange staining) on stainless is usually cosmetic and can be cleaned off. But if you see deep pitting, cracks near welds, or rust that goes through the metal — that rail or ladder needs to be replaced. A structurally compromised ladder is a safety hazard.
3 Check and Prepare Your Deck Anchors
Deck anchors (sometimes called anchor sockets or flange sockets) are the threaded inserts in your pool deck that the ladder legs drop into. They take a lot of abuse — from foot traffic, freeze-thaw expansion, and chemical exposure — and they're often overlooked.
Before reinstalling ladders:
- Clear any debris, dirt, or old silicone from inside the anchor socket
- Check threads for damage — a bolt that doesn't thread in smoothly means a stripped anchor
- Test the anchor for stability — wiggle it to see if it moves in the concrete
- If an anchor is loose or cracked, have it repaired before opening
💡 Pro Tip: A Little Silicone Goes a Long Way
A thin ring of pool-grade silicone sealant around the base of the anchor cover plate keeps water from seeping under and into your deck. Don't seal the anchor socket itself shut — just the decorative cover plate perimeter.
4 Check the Rubber Bumpers on Your Ladder Feet
In-wall pool ladders have rubber bumpers on the feet — the points where the ladder legs rest against the pool wall. Their job is to cushion that contact and protect your liner from the metal frame pressing directly against it.
After a winter in storage, those bumpers can dry out, flatten, crack, or go missing entirely. New ones are inexpensive. If yours are cracked, hardened, or thinner than a pencil eraser — replace them before the ladder goes back in. Installing without good bumpers risks scratching or puncturing your liner, which is a much more expensive fix.
⚠️ Heads Up: Don't Guess on Bumper Size
Bumpers are not universal — they're sized to fit your specific ladder model. Bring your old bumper (or the ladder brand and model number) when you stop in, and we'll make sure you get the right fit.
5 Reinstall Ladders and Handrails
With anchors cleared, bumpers in place, and hardware inspected, you're ready to put everything back together. Take your time here — it's worth it.
- Lower the in-wall ladder into the water and seat the feet against the pool wall bumpers
- Guide the top of the ladder into the wall anchor or handrail socket
- Thread anchor bolts by hand first — never use power tools to start bolts in pool hardware
- Tighten snugly with a wrench — firm but not over-torqued; stainless threads strip easily
- Give the ladder a firm push and pull test — it should have zero movement
- Repeat for all handrails and deck-mounted rails
⚠️ Never Use Anti-Seize on Pool Bolts
It seems like a good idea, but anti-seize compounds can degrade in pool water and contaminate your chemistry. Use only stainless bolts with no added compounds. If a bolt keeps seizing, the real fix is replacing the anchor or the bolt — not a shortcut lubricant.
6 Reinstall Step Treads and Dive Rocks
If your pool has removable step treads, diving rocks, or ledge covers, now's the time to get those back in. Most snap or clip into place, but winter can make plastic brittle — force them and they'll crack.
- Let plastic parts warm up in the sun for 15–20 minutes before installing — cold plastic is much more prone to cracking
- Check for stress cracks before snapping in — a cracked tread can break loose underwater and become a hazard
- Verify each tread seats fully and doesn't rock or flex under light pressure
- Diving rocks and ledge caps: check mounting hardware and ensure no movement
7 Reinstall Pool Accessories
Beyond ladders and rails, most pools have additional accessories that were removed for winter. Work through this checklist as you wrap up your opening:
|
|
💡 Pro Tip: The Safety Rope Is Not Optional
If your pool has a deep end, that floating rope isn't just decorative — it's a recognized safety barrier that gives swimmers (especially kids) a visual and physical reference point between shallow and deep water. Get it back in before anyone swims.
8 Do a Final Walk-Around Safety Check
Before anyone enters the water, do one final walk around the pool with fresh eyes. You've been working close to the details — a step back helps catch things you may have missed.
Need Parts, Hardware, or a Hand Getting Ready for the Season?
From replacement bumpers and anchor hardware to step treads and safety ropes — we stock the parts you need to open with confidence. Stop in at 3405 Hwy 169 N in Plymouth, or give us a call. We've been helping Minnesota pool owners open right since 1988.
 Call Us Now — 763-542-9000
Your Happy Dolphin Pool & Spa Team
Serving the Twin Cities metro since 1988 | Plymouth, MN | 763-542-9000